Wednesday, 17 December 2014

My Christmas photo shoot plan for over the two weeks

My Christmas photo shoot plan for over the two weeks

I will be taking photos each day over two weeks, the days i have work i can either take photos on my phone or take photos at home before work or after. The aim of this part of the project is to be able to take photographs in a varied amount of locations. I believe the easiest day to take photographs will be Christmas day as i will be visiting family and house will be decorated very festively. One day in the week i plan to take a walk in the park near where i live and this will be a great place to take photos. The locations i have decided on are:

  • my garden
  • places in my house
  • the staff room at the place i work at 
  • the street 
  • my room  


i may have to re shoot in the same locations however i will take the photos at either different parts of the place or i could experiment with the angles i will be using. 

DIP's by Rebecca


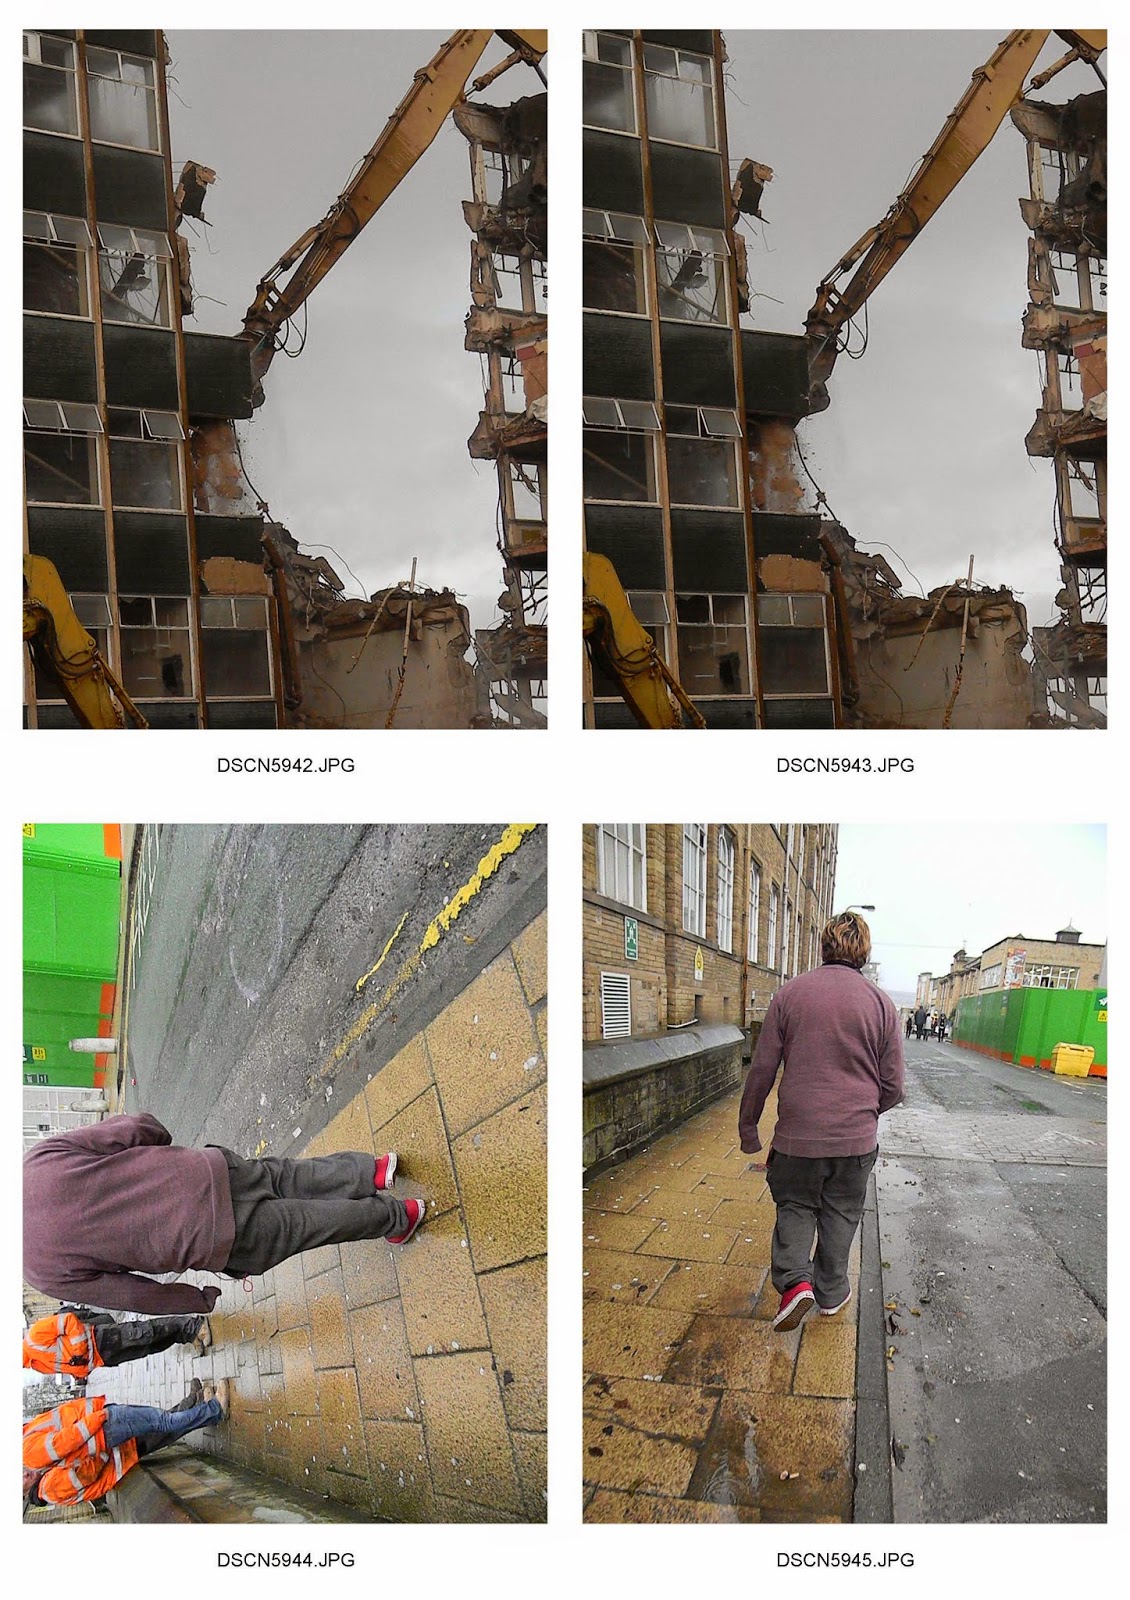
First DIP this one is to complying to the theme of industry and documentary. Both photographs were taken in Bradford , one was taken in the David hockney building the other was taken outside the old building across the street. The viewpoints on each image was pointed upwards as i believe this creates a unique effect on the photograph. Both images are using natural light as both shots were taken during the day. to improve the images i could re shoot later in the day so that the light in the second photo would be covering the entire object. To create a different kind of photo i could re shoot at night to have more of a dismal effect on the photo as the different light would change the look of the image. The image with the most central focus is the second photo as that has a object in the centre of the frame which grabs the viewers attention. On the first image there is no single object in the frame that stands out to the viewer, however as there is two  lines in the photo which allows the viewers eye move along the lines. Out of these photos i prefer the second one as it has more interesting item in the frame and this is what i want to do to my final images which will include an inanimate object. 
Again these were taken in Bradford however the first photo was taken on a road near the city park and the second photo was taken at a bus stop near the Alhambra. to improve the second image i would adjust the contrast, i believe a higher contrast would make the image better as i believe the image is slightly flat. Both of these photos have a central object with draws in the most focus of the audience of the photo. This set of images theme is travel as one photograph contains a mode of transport and the other photograph was taken at a bus stop. In this set the lighting is varied as on the first image there is two rays of light on the image and on the second photo there is a dull overtone as light is not directly shinning on either the object or the surrounding space. The image i prefer is the first one as lighting is used more effectively and there is more going on in this image. 

These were taken at locations that are very different to each other,as the first one was taken in city park and the other was taken in the library in the David hockney building. Both images has a main subject as the second photo has a large bookcase placed central in the frame.Both photos fit into the theme of documenting as one image is about a bookcase and the other photo is an image of a location which is a tourist attraction in Bradford , this is city park. Both photos uses natural light which lessens  the amount of harsh shadows which would be created if i were to use artificial light. However natural light does add a tint of grain to the photos which makes them look slightly flat. To change this i could higher the contrast to give the photo a lift, which would make the subjects more eye catching and appealing in the frame, it could also improve the effectiveness of the photo. Both images are mainly / mostly focusing on the subject which is what i want to achieve when i use a inanimate object however on the first photo i could re shoot to reduce the amount of foreground as with this amount there isn't much background for the audience to look upon. 

Tuesday, 16 December 2014

Creating a DIP

To create a Dp you have to open Photoshop and select the images you wish to use.

For my example I will be using these photos: 

To be able to use these photos i will have to crop each image and rotate the photos so that there able to be situated side by side to create a DP. I will crop the photo to 1x1 so that they fit into the places on the page using the crop tool. 


When both images are cropped and rotated the way i want i then change the image size to be able to fit them on a page. 


to get the images to the correct size the width and height need to be six and centimetres has to be changed to inches.  
Then to complete the DIP the canvas size needs to be changed, to do this you select canvas size on the same menu as the image size.    

To do this you have to anchor the image to the left side using the arrows so that im able to add more to the other side of the picture. Then i change centimetres to inches and double to size from 6 to 12 to be able to fit in another photo.  


Item photo shoot


Tuesday, 9 December 2014

Final Evaluation of project


This is one of my final prints and the reasons for choosing this photo in particular was due to the fact that I love the style of the photograph and how the shot was taken. This is a photocopy of the photo I printed in the darkroom using the skills and know how while working in the darkroom. Even though the subject is not in motion it evokes a sense of movement as the subject is a mode of transport which i believed looked interesting and unique while still been able to be associated with movement.

Saturday, 6 December 2014

My film work


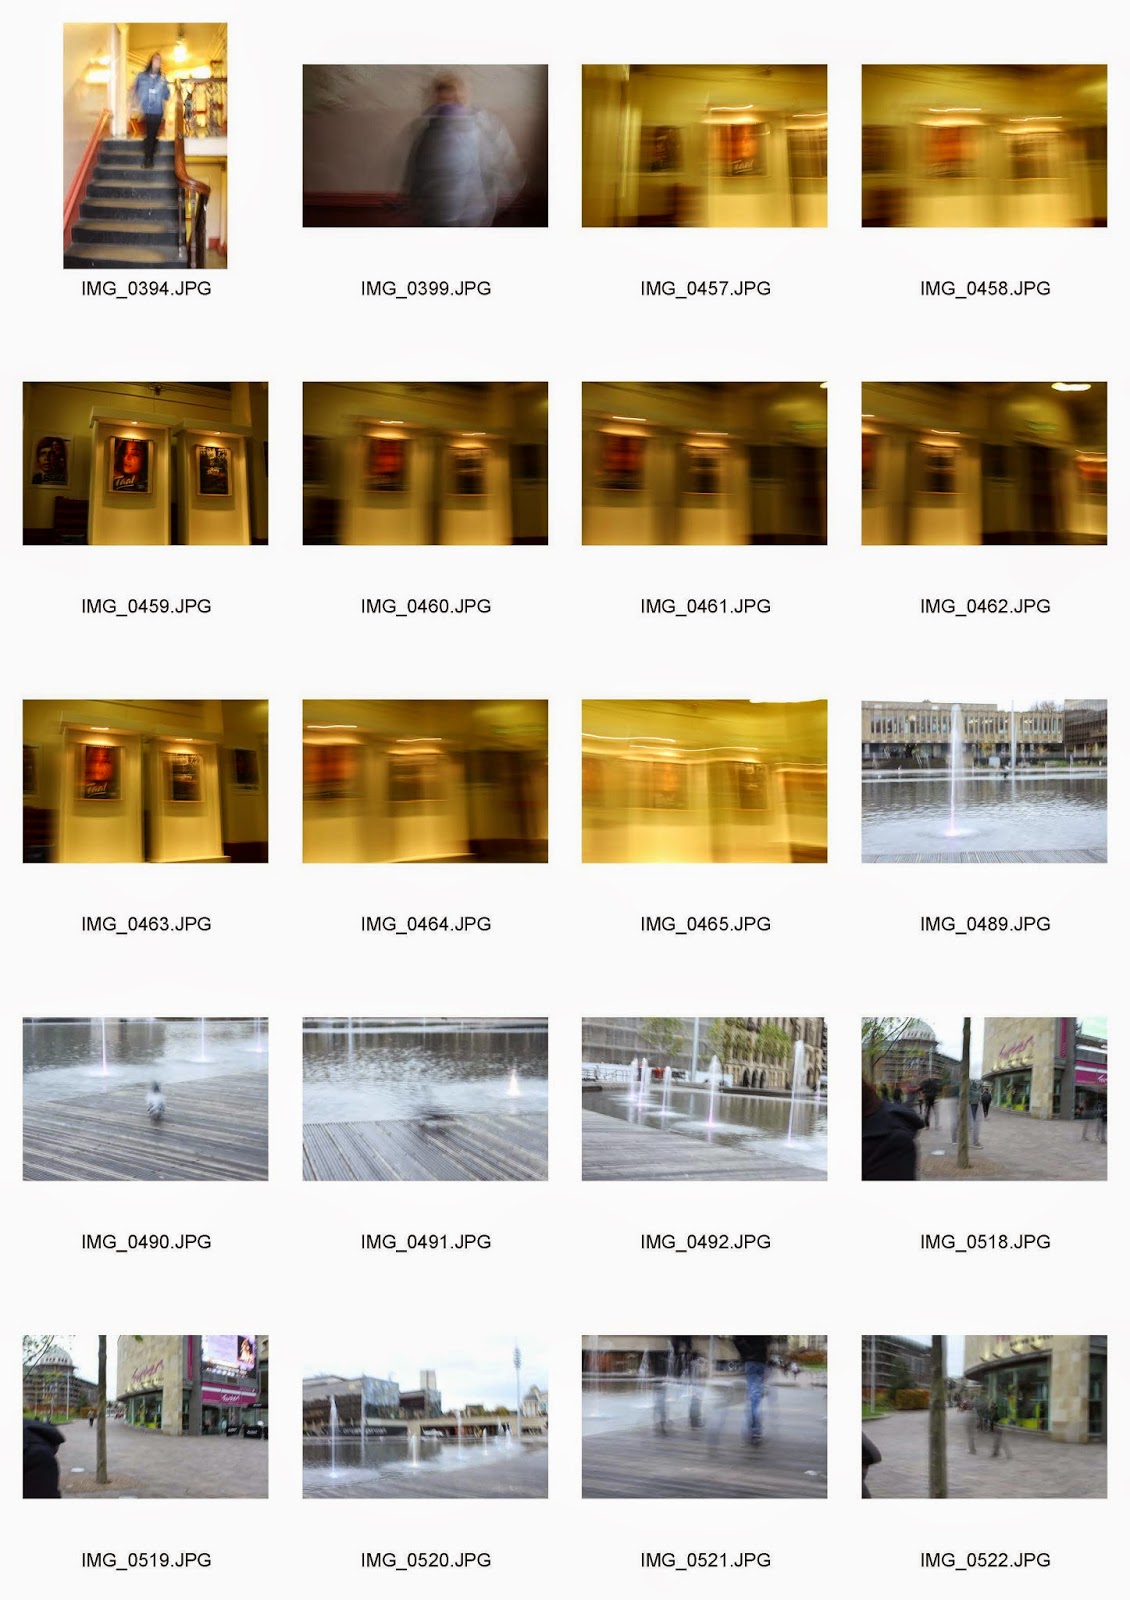
These photos have been taken from my film strip, all were taken while on a trip.  I had a limit of 36 photos so i had to plan and make sure everything thing was perfect before taking a shot. I will be using the picture of the scooter and the bus driving down the road as i believed these both supported the idea of movement as both include a mode of transport. i had to look at the foreground and background , making sure there were no distractions or obscuring items in the frame that could distract the attention of the viewer. Most of these images do not include people and this was done because i found it easier to photograph still life and vehicles as they were more consistent in their direction and speed of movement. I used a slow shutter speed for the majority of these photos as i wanted to achieve a look of motion blur as a key aspects in nearly all of the photos. However i did experiment with the shutter speeds as in some images i wanted there to be a  freeze frame like look on the photos as i wanted the objects in the photo to appear completely still in the photograph.  As i was taking photos at locations i wasnt used to i had to adapt and find the most convenient and best places to take photographs.